IrisAgent Automation Guide
Check out this video for a quick overview of setting up automations on IrisAgent.
Set up Automated Tagging
Tagging tickets is manual, mundane, and error-prone. Tags get obsolete and incorrect tagging results in inaccurate responses and analytics. IrisAgent solves this by AI-driven automated, and self-learning tag management. No manual effort is needed.
This document provides a step-by-step overview of configuring tag automations using IrisAgent. The process involves setting up AI intents for automatic predictions and responses, which can enhance efficiency in handling customer queries.
There are three ways to automate tagging and you can choose any number of them: Fully Automated, Using Existing Tags or Fields, and Configuring Tagging in plain English.
Fully Automated
This is enabled by default. IrisAgent automatically predicts tags for incoming tickets based on historical data and trends from your ticketing system. No additional setup is required. You will start seeing tags under the Categories page on the IrisAgent dashboard.
Using Existing Tags or Fields
If your ticketing platform already has the tags or custom fields that your team is manually adding and you'd like to automate, IrisAgent can train an AI model to automatically predict the same tags and write them back into your ticketing system. To do this, please let us know by sending us an email. Include the names of these tags or custom fields in your message.
Configuring Tagging in plain English
You can configure new tags by describing them in plain English and some examples. IrisAgent will train an AI model to automatically predict these tags and write them back into your ticketing system. To do this, follow these steps:
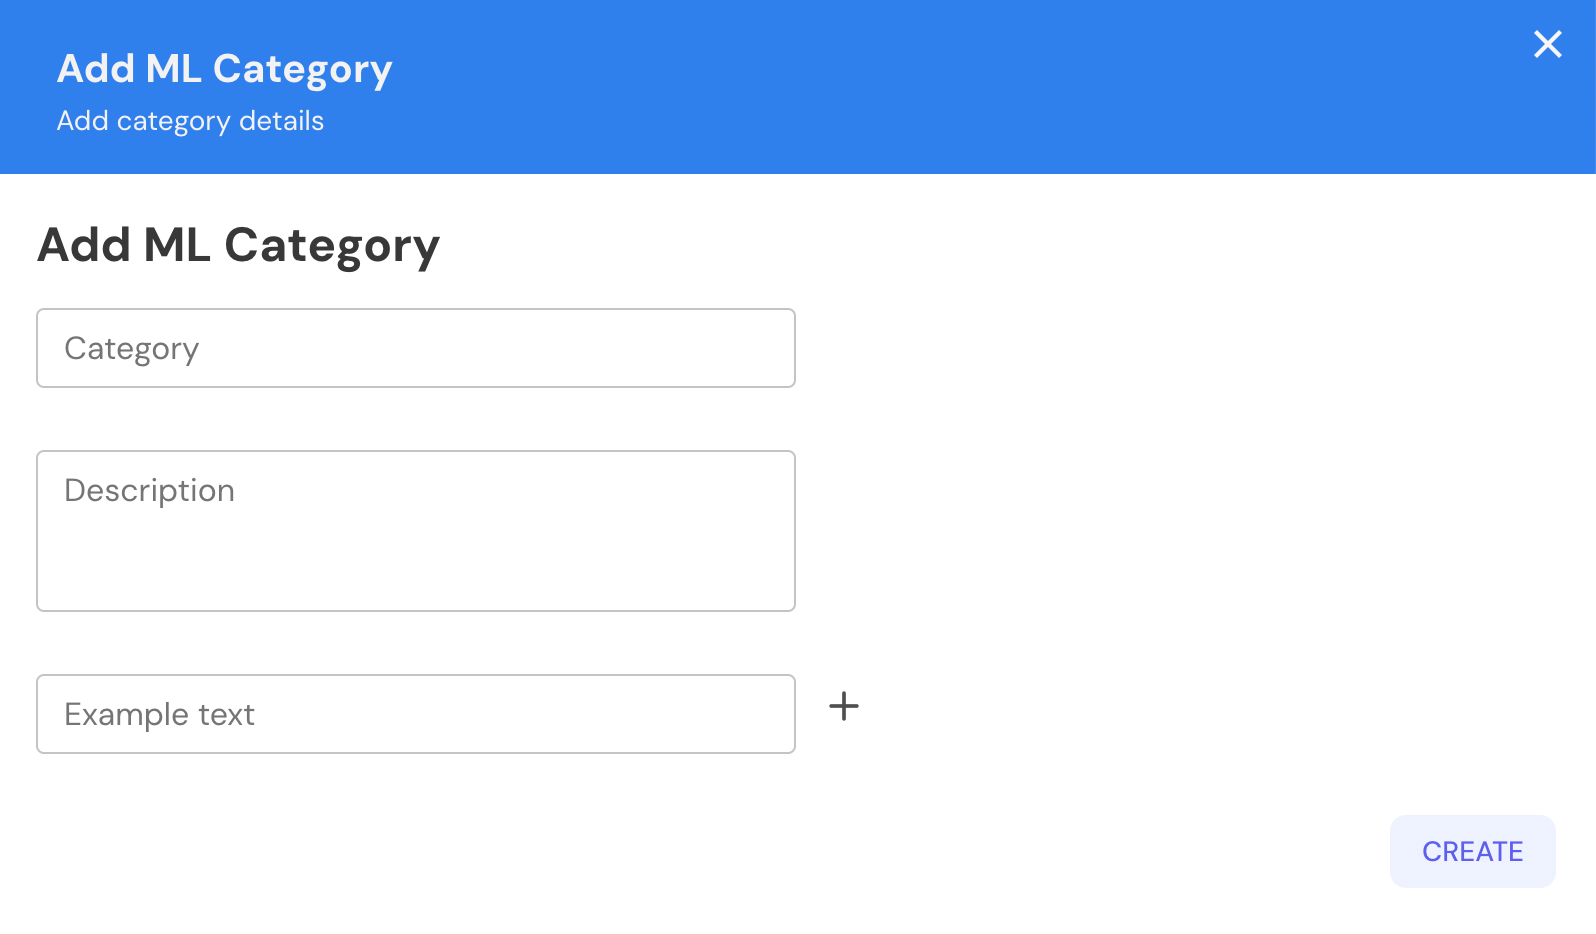
- Navigate to the Automations -> Training page on the IrisAgent dashboard and click on the + Create New Category button on the top.
- Enter the name, short description, and a couple of examples for the Tags you want to automate. . Click on Create
Set up Automation Workflows
Agents and supervisors spend manual effort in triaging and resolving issues that may already be known or solved previously. IrisAgent solves this by automated workflows based on AI-powered tagging, AI-based answers to known issues, and configurable actions for ticket assignment and notifications.
- Go to the Automations -> Triggers page on the IrisAgent dashboard and click on the + Create New Trigger button on the top-right.
- Select any number of Conditions and Actions to be included in your trigger automation.
- Give your trigger a name by clicking on the pencil icon.
- Click on the Add New Trigger button to save the trigger.
Enable/Disable AI insights as a private note in your ticketing system
You can show IrisAgent's AI insights as a private note on tickets so that it's front and center for your agents.
- Go to the Automations -> Triggers page on the IrisAgent dashboard.
- Enable or disable the toggle on the top for Private Note
- Click on the gear icon on the Private Note card to select/unselect the AI insights you'd like to show as a private note.
Feel free to email us if you encounter any issues or require assistance with product onboarding.