IrisAgent Installation Guide for Salesforce Service Cloud and CRM
Introduction
IrisAgent delivers proactive customer support with AI-powered alerting, automated resolution, and correlation of support tickets and product issues. IrisAgent’s AI-powered support solution reduces support ticket resolution time by 45%, improves agent performance, and enhances communications between agents, customers, and internal technical teams to reduce escalations by 60%. It proactively discovers trending issues instead of waiting for customers to report them.
Sign up on IrisAgent's Dashboard
- Go to the IrisAgent dashboard and sign in with your Salesforce credentials.
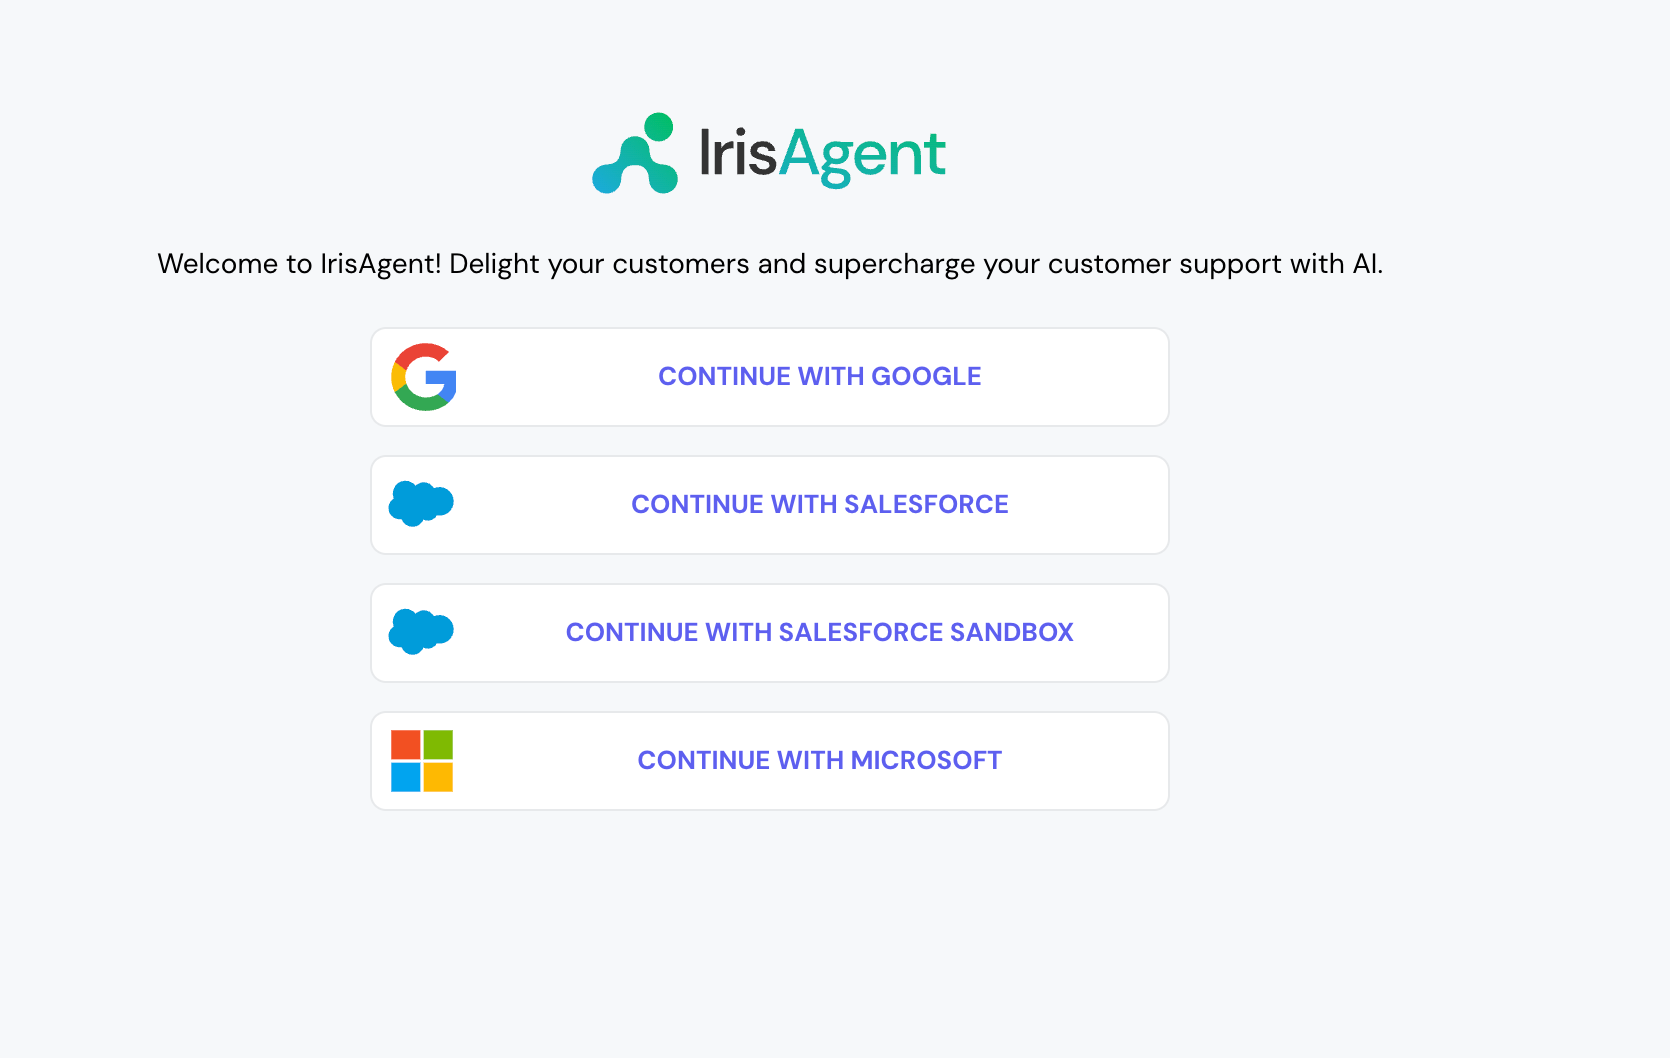
- If connecting with a production Salesforce account, please select the Continue with Salesforce option.
- If connecting with a Salesforce Sandbox account, please select the Continue with Salesforce Sandbox option.
- In the subsequent login page, enter the username and password to login.
Note that selecting the Use Custom Domain option will not work, as the option to choose production/sandbox environment was provided in the previous step. - Give the OAuth permissions and click on Allow.
Install the IrisAgent app in Salesforce account
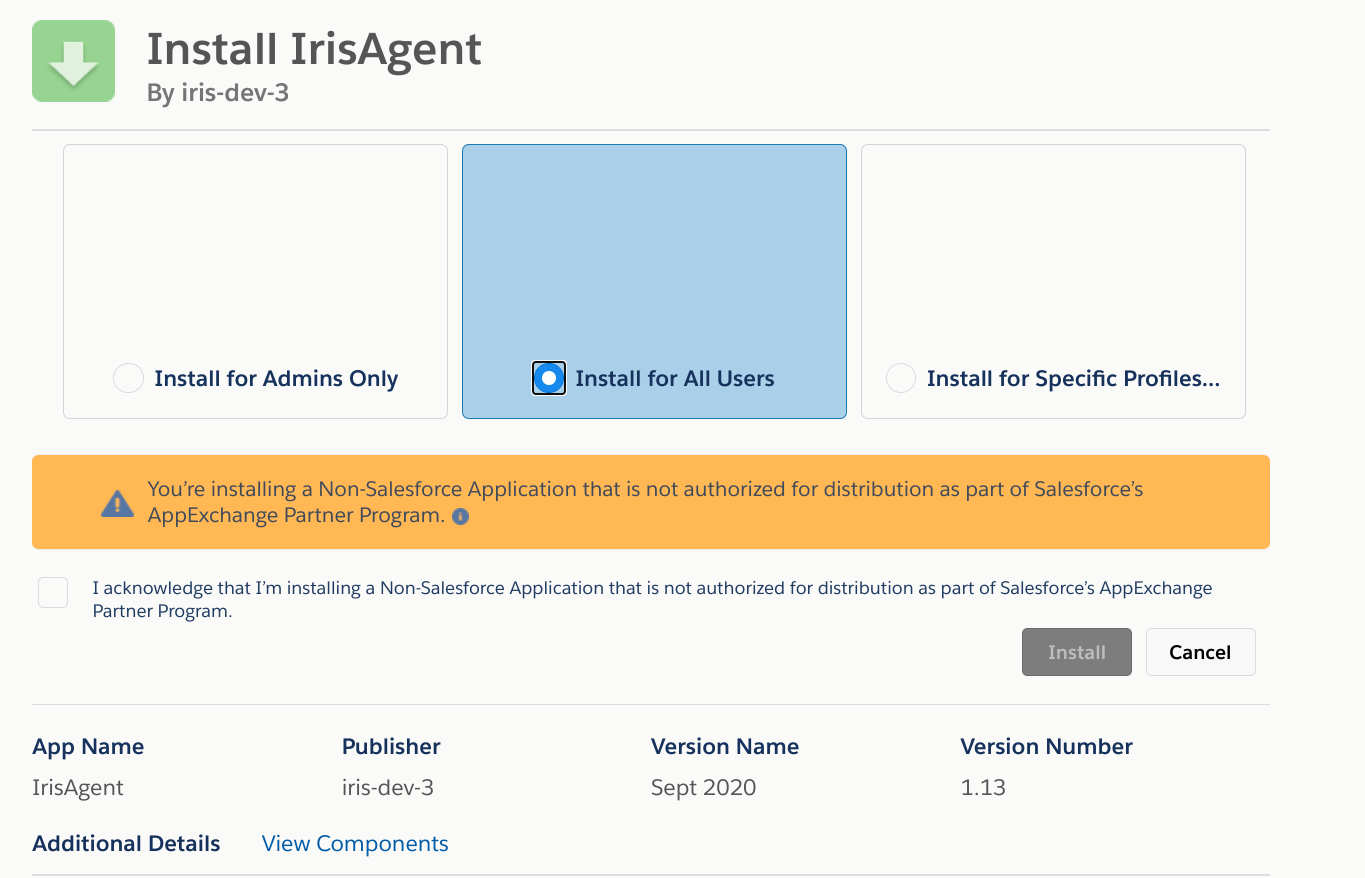
- Install the IrisAgent app from the this link.
- Select the option Install for All Users (note that you can later restrict access to certain profiles). Click on Install after checking the acknowledgment. After installation, click on Done.
Displaying the IrisAgent app in your Salesforce account
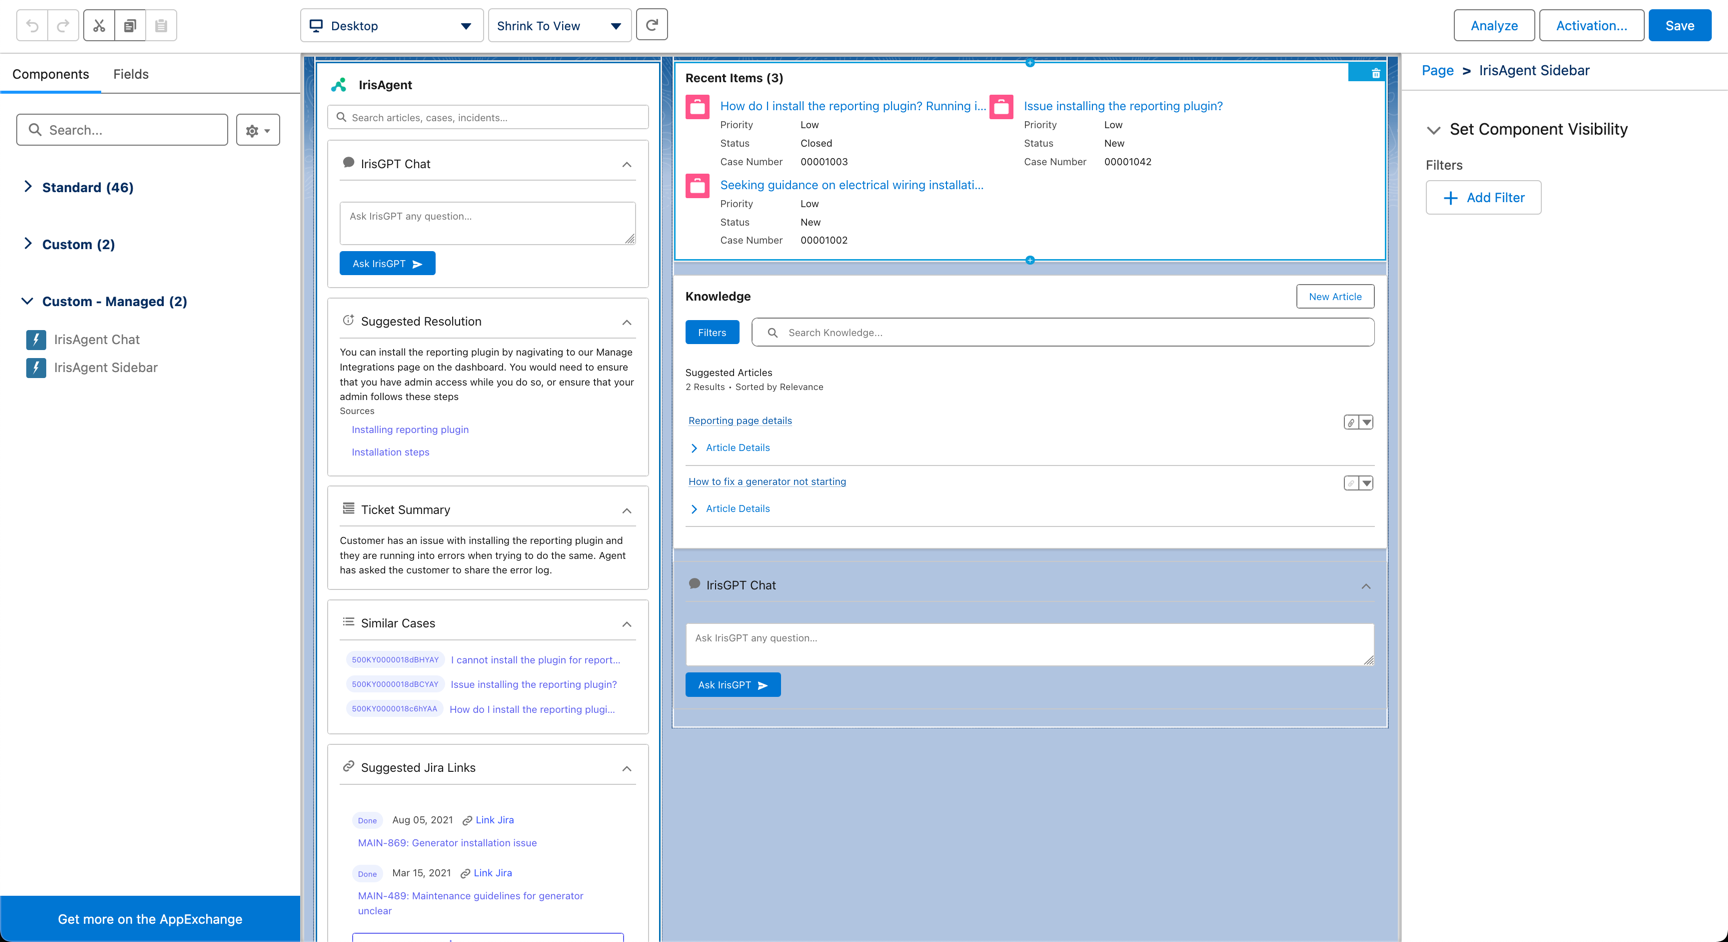
You can display the app on your Lightning Case Record page.
Displaying on the Case Page
- Go to Setup – Object Manager. Search for the Case object.
- Click on the Lightning Record Pages menu option and edit or create a Lightning page.
- Click Edit.
- Select IrisAgent Sidebar and set it to the desired location on the page.
- Click on Save. If a pop box opens, click on Activate.
Share the list of custom fields
Salesforce Service Cloud allows use of many custom fields. We would need those field names to perform data ingestion. Please email the API field names for the following entities at this email address:
- Article body in Salesforce Knowledge
- Case priority
- Any other entity for which you are using a custom field, instead of the default standard field that you would like IrisAgent to access
Integrating IrisAgent with Salesforce CRM
This section is relevant if you are using a different ticketing provider (e.g., Zendesk, Intercom, etc.) and using Salesforce as your CRM.
- After logging in to the dashboard, click on Manage Integrations
- Click on the “Connect” button for Salesforce CRM
- You will see the OAuth screen below. Click on “Allow”.
Permissions accessed by IrisAgent
- IrisAgent uses the “api” scope.
- The token obtained after the OAuth flow will have access to all the objects the logged-in user has access. Hence, a separate service user should be created for IrisAgent with sufficient permissions to access the objects required by IrisAgent.
- Below are the objects accessed by IrisAgent
- Objects with Read permissions: CaseArticle, CaseSolution, Solution, Account, CaseTag, Contact, EmailMessage, LiveChatTranscript, User, Group, Knowledge__kav, Knowledge__DataCategorySelection
- Objects with Read and Write permissions: Case, CaseComment
The above steps will complete the installation of IrisAgent. Please email us once these steps are completed, and our team will start setting up the machine learning models for your account.