
Okta Sign-in Guide for Zendesk
Introduction
IrisAgent supports SAML-based sign-in flow with Okta. This guide will help you integrate Okta with IrisAgent using SAML.
Okta SAML Integration
Step 1: Create a new SAML application in Okta
- Follow the Okta guide to create a new SAML application.
- Get the value of TENANT_ID from your point of contact at IrisAgent and then set the following values for the application:
- Single sign-on URL:
https://frontend-api-server-v2.api.irisagent.com/oauth/okta/TENANT_ID/saml/metadata - Audience URI (SP Entity ID):
https://frontend-api-server-v2.api.irisagent.com/oauth/okta/TENANT_ID/saml/acs - Attribute Statements:
email->user.emailname->user.firstName + " " + user.lastName
- Single sign-on URL:
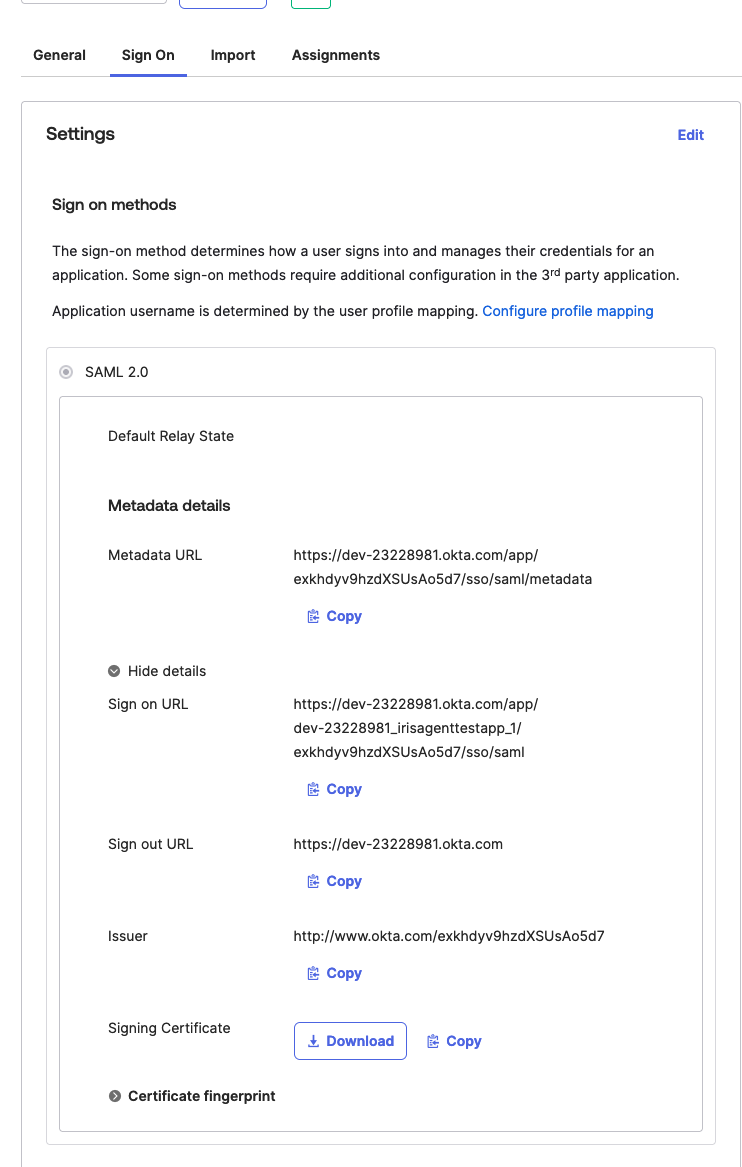
Step 2: Provide the metadata to IrisAgent
- Metadata URL
- Issuer
Step 3: Connect with Zendesk (or any other ticketing system that you use)
A Zendesk user (with
write access) in your team should follow the instructions provided here to connect IrisAgent to your Zendesk account. Ensure that this user is assigned to the SAML application of IrisAgent from your Okta dashboard.